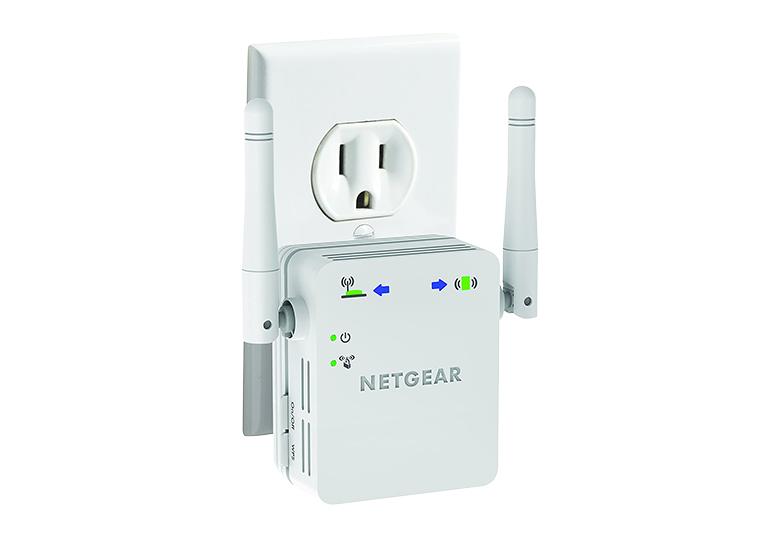
Are you looking to secure your Netgear WiFi networks by hiding the SSID of your extender? If yes, then here we have arrived with some essential information through which you can easily hide the SSID of your Netgear extender and protect your network from unauthorized access. Just go through the below section, you might find it useful.
Follow to Hide Netgear Extender SSID
Just go through the below-mentioned steps to hide your Netgear extender network SSID by accessing the Netgear extender setup wizard.
Turn On Your Netgear Extender
- Power on your extender after Plugging it into the electrical socket.
- Wait until the power LED become solid green.
Connect Your Router
- Get hold of your Ethernet cable.
- Establish a connection between your Netgear extender and router using the Ethernet cable. Just make sure that the cable connection is finger-tight.
Visit Netgear Extender Login Page
- Once your Netgear extender and the home router are connected successfully, power on your PC.
- Access an updated version of the internet browser on your PC and insert the default web address i.e. www.mywifiext.net in the address field.
- After inserting the default web address, hit the Enter button to access the Netgear extender login page.
- Once you are on the Netgear extender login page, input the default username and password in their respective field. You need to be cautious while inserting the login credentials as a minor error can prevent you from accessing the Netgear extender setup wizard.
- After entering all the required credentials, click Log In.
Disable the SSID Broadcast
- Once you are successfully logged in, the Netgear extender setup wizard will appear on your screen.
- On the Netgear extender setup wizard, browse your cursor to the Settings option.
- Then, select the Wireless option.
- Now, you’ll be navigated to the Wireless Setting page.
- Click to uncheck the radio button adjacent to the Broadcast this Network Name (SSID) for 2.4 GHz.
- In the same way, to disable SSID for 5GHz, click the button adjacent to the Broadcast this Network Name (SSID) for 5 GHz.
- After unchecking the radio button, click Save to save the changes you have made.
After this, you’ll not able to view the SSID of your Netgear extender on the list of Networks. On the off chance, if you face difficulty while accessing the default web address, then you can use the default IP i.e. 192.168.1.250 also.
Now, you are wondering how you can connect with the hidden network of your Netgear extender. Then, don’t worry; here we have outlined steps through which you can connect your Computer to a hidden Netgear extender SSID.
Connect PC to Hidden Netgear Extender SSID
- Turn on your PC.
- Then, left-click the WiFi option on your PC.
- Select Network Setting and click WiFi.
- Under the WiFi option, you need to select the Hidden Network and then click the Connect option.
- Now, you are required to insert the Netgear extender SSID and click Next.
- Input the security key for your Netgear WiFi networks.
- After inserting the asked details, click the Next button, then your PC will be soon connected to the hidden network of your Netgear extender.
Finally, your PC is connected to a hidden Netgear extender SSID.
Connect Your Smartphone to Hidden Netgear Extender’s SSID
- Unlock your Smartphone.
- Then, browse the Settings menu and tap the WiFi option.
- Next, you need to add a WiFi network to your Smartphone.
- Thereafter, you are required to insert the Network name(SSID) and the password in their respective field.
- After inserting the required credentials, tap Connect to establish a successful connection.
In this manner, you’ll be able to hide the SSID of your Netgear extender and secure your Netgear extender WiFi networks from unauthorized access. Hopefully, you liked this article; just let us know how much you have liked the post.


