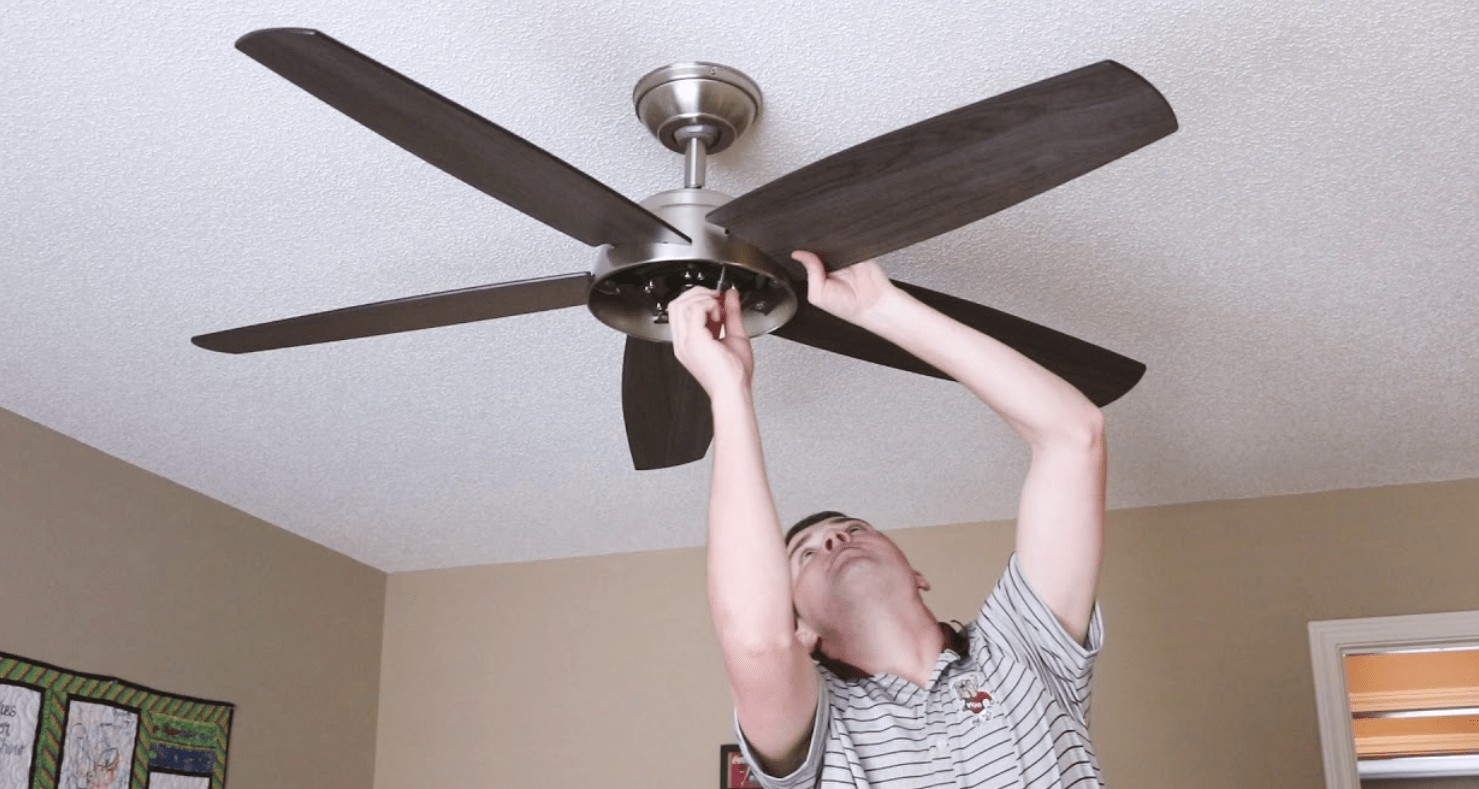
A ceiling fan installation requires some preparation. Before you start the work, you should gather information about the Cost of the project. You will also need to know the length of the down rods and the preparations before the fan installation. This guide will help you get started and avoid the pitfalls that may occur. It also provides tips and tricks on how to do it yourself. It will help you get started right away and ensure a professional-looking finished product.
Cost Of Installing A Ceiling Fan
The cost of installing a ceiling fan is typically between $100 and $300. This price range is based on the type of installation and whether there is existing wiring. If you have an open attic, it will take approximately two hours to install a basic ceiling fan. A more expensive installation may include the wiring, switches, and the installation of a new ceiling fan light. Once you have all of these things in place, you can calculate the cost of installing a ceiling fan.
The first factor that affects the cost of installing a ceiling fan is whether the wiring is suitable. If you don’t have an existing fixture, the electrician will have to cut an access hole, run the wiring to the ceiling fan, and install a fan-rated box. The cost of installing a ceiling fan also increases if you want to add a wall switch. Many ceiling fans come with a pull switch, which requires little additional work.
Preparation Before Installing A Ceiling Fan
Before you install a ceiling fan, make sure you have all the necessary wiring and equipment. This will ensure that the fan operates properly. Professional electricians can help you wire the fan properly to avoid any noise or vibrations from the fan. Ensure that you have enough room to install the fan. Before you begin, be sure to read the installation manual carefully and follow the instructions provided. Preparation before installing a ceiling fan should be the same as installing any other fixture.
Once you have the necessary materials, you are ready to begin the installation process. First, make sure you have a ladder to reach the ceiling. It will be helpful to have a support person in the room to help you. Next, you need to remove the insulation from the end of the wires. After this, wrap the bare end of the wire with electrical tape. You can then mount the ceiling fan using the hardware that came with the unit.
Downrods
When purchasing downrods for ceiling fan installations, there are several factors that you need to consider. The first is the diameter. You must select one that fits the existing diameter of the ceiling fan. Another important aspect to consider is the way the downrod connects to the ceiling fan. It must be threaded, or it will loosely fit on the light fixture, which is unsafe for the user and for the light fixture itself. Lastly, you must match the color of the downrod to the ceiling fan.
Downrods are the essential part of ceiling fan installation, and they should match the ceiling fan’s UL rating. Choose downrods that match the fan’s brand and color. While most ceiling fan brands offer matching downrods, it’s still important to choose the right size for your installation. The length of the downrod should be about two to eight inches. If your ceiling is vaulted, you may have to hire a professional to install the fan because the keystone will affect the weight of the ceiling.
Downrod Lengths
If you have high ceilings, you may be unsure of the downrod length for your ceiling fan installation. However, remember that many fans have different downrods, and choosing the right length can make all the difference. Consider the size of the fan and its diameter, as well as any weight limits. Also, consider how the fan will be positioned. If you plan to use more than one ceiling fan in the same room, you’ll need longer downrods to accommodate multiple fans.
The correct downrod length is important for two reasons. First, it will help the air flow in the room and maintain the room’s temperature. Incorrect downrod lengths can also lead to safety concerns. The ceiling fan should be at least eight feet above the floor. If you install your ceiling fan at an awkward angle, you might cause injury to yourself and other people. You should also ensure that you get the right length for your ceiling fan to avoid any unforeseen accidents or damages.
Safety Glasses To Wear During Installation
It is imperative that you wear the proper safety glasses when working around electricity. Some people believe that safety glasses are adequate and that they can just be used to protect their eyes. Safety goggles or full face shields can be necessary for different types of work and have different levels of protection. While safety goggles are a common choice for some workers, they may not be the right fit for all jobs. This article will provide you with some helpful tips for making sure you are protecting your eyes with the proper safety glasses.
During the ceiling fan installation process, you may be exposed to dust, flying objects, or electrical arcs. While some hazards may cause immediate injuries, others may take several hours to manifest. In most cases, eye injury is permanent. This is why it is critical to protect your eyes with safety goggles. Also, if you plan on wearing tinted safety goggles, you may want to invest in a pair with UV protection. These will protect your eyes from harmful UV rays as well as the debris.

